How to Purchase a GoLiveIndia Plan: Step-by-Step Guide
If you’re a content creator, live streamer, or business looking to go live on multiple platforms at once, GoLiveIndia is the right tool for you. It allows seamless streaming across platforms like Facebook, YouTube, Instagram, LinkedIn, Telegram, and even X (formerly Twitter). But before you can use its full features, you need to choose and purchase a plan that fits your needs.
This guide walks you through the entire process of purchasing a GoLiveIndia plan, in a step-by-step manner.
Step 1: Visit the Official Website
Open your browser and go to the official GoLiveIndia website:
GoLiveindia
You can also directly download the app if you’re on mobile(Android or iPhone/iPad) via:
Download
It will redirect you to the correct app store version based on your device.
Step 2: Create an Account or Login
If you’re a new user:
-
Click on the Sign Up or Register button.
-
Enter your email address, mobile number, or use your Google/Facebook login.
-
Follow the verification steps (OTP or email confirmation).
CREATE ACCOUNT ON GOLIVEINDIA
If you’re an existing user:
-
Click on Login.
-
Enter your registered e-mail & Password and access your dashboard.
LOGIN IN ON GOLIVEINDIA
Step 3: Navigate to the Pricing or Plans Section
Once logged in:
-
Locate the Pricing,plan, or Upgrade option on the dashboard menu.
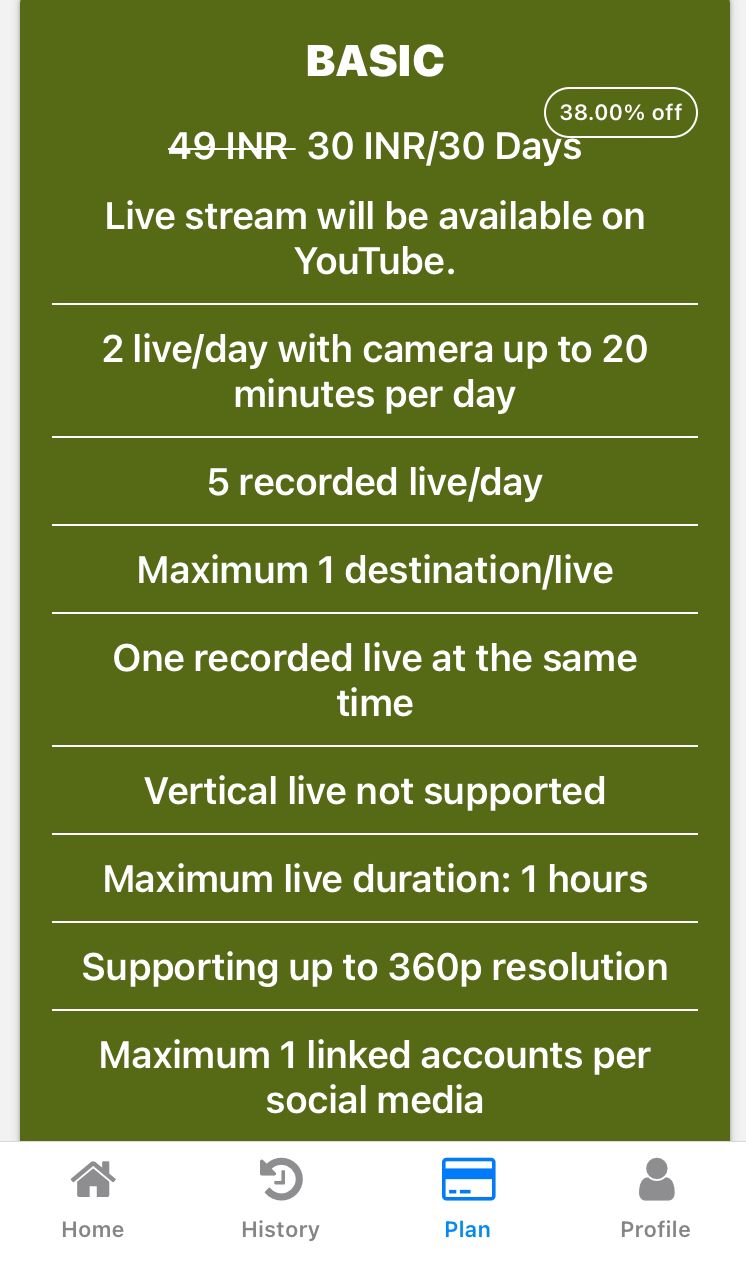
EXPLORE PLAN FEATURES OF GOLIVEINDIA
-
You’ll see a list of available plans based on monthly, quarterly, half-yearly and yearly options.
These plans usually vary by:
-
Number of live streams allowed per day / Simultaneous live stream limit
-
Available live streaming quality options (4K, 2K, 1080p, 720p, etc.)
-
Support for vertical live streaming
-
Number of platforms supported for simultaneous streaming
-
Maximum streaming duration per session
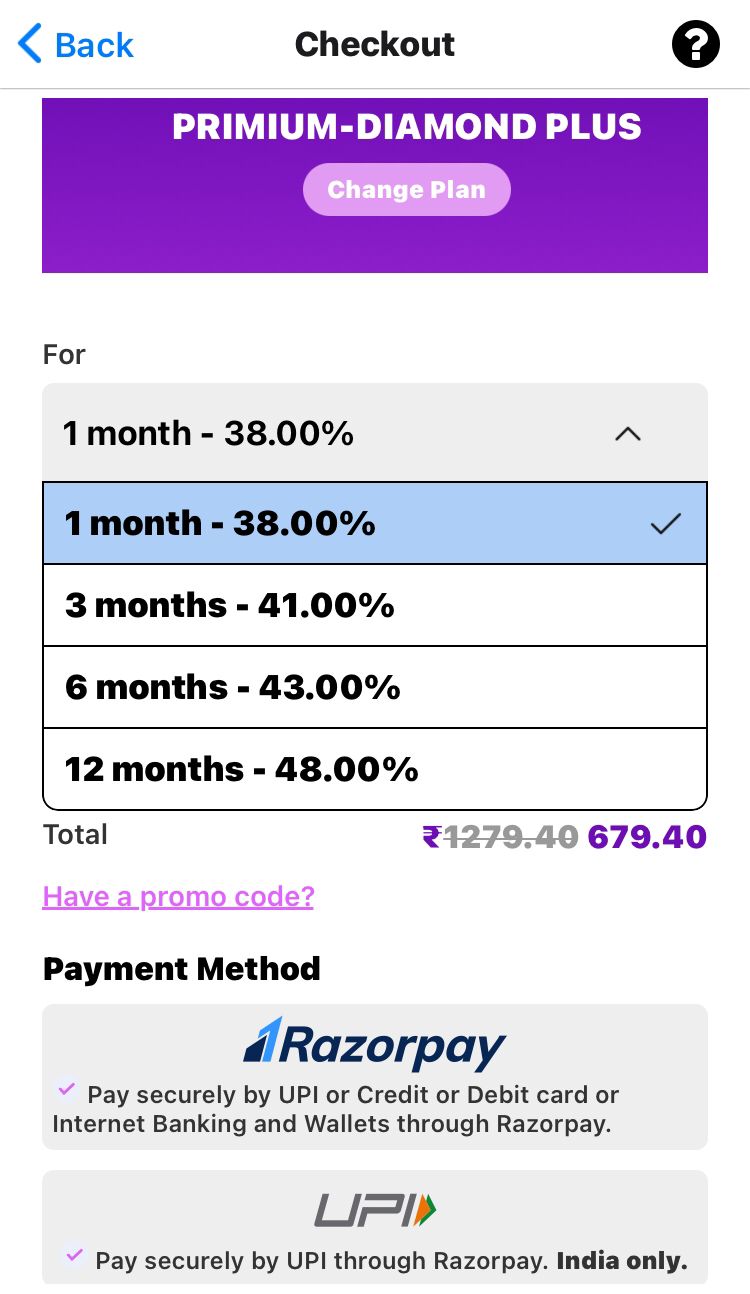
Step 4: Choose the Right Plan
Carefully compare the plans. If you're just starting, the Basic or Plus plan might be ideal. If you’re a frequent streamer or running a business, consider the Diamond or Gold Plus plans for better value.
Click on the Buy Now button next to the plan that suits you.
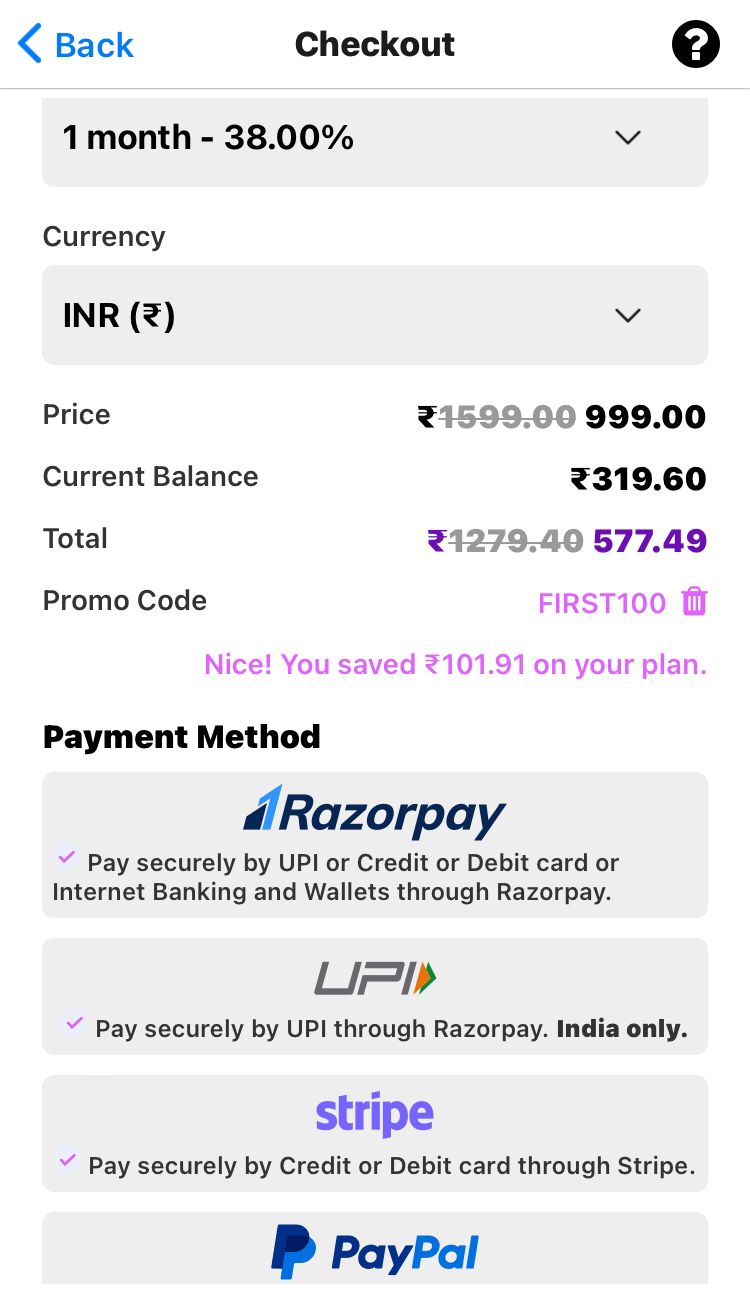
Step 5: Apply Promo Code (If Available)
If GoLiveIndia is offering a discount code :
-
Look for a section to apply the promo code before payment.
-
Enter the code and click on Apply to activate the discount.
Step 6: Proceed to Payment
After selecting the plan:
-
Select your preferred payment method.
-
–For users in India: UPI, Debit/Credit Card, Net Banking, Wallets, or PayPal Wallet.
-
For international users: PayPal or Debit/Credit Card.
-
Confirm the billing details.
-
Complete the payment securely.
You’ll get a confirmation message and email once the transaction is successful.
Step 7: Access Your Purchased Plan
After successful payment:
-
Go back to your Dashboard.
-
You’ll see the newly activated plan details under your account.
-
Start scheduling or launching your live streams from the panel.
Purchasing a GoLiveIndia plan is a simple and smooth process that takes just a few minutes. Whether you’re a beginner or a professional, having the right plan helps unlock the power of multi-platform streaming with ease. Plus, with regular discounts and offers, it’s affordable and scalable.
For the best experience, always ensure you’re using the latest version of the app and check for updates or new features added to the plans.
HOW TO LIVE ON YOUTUBE WITH GOLIVEINDIA
HOW TO LIVE ON FACEBOOK WITH GOLIVEINDIA
HOW TO LIVE ON YOUTUBE USING RTMP WITH GOLIVEINDIA
HOW TO LIVE ON FACEBOOK USING RTMP WITH GOLIVEINDIA
HOW TO LIVE ON INSTAGRAM WITH GOLIVEINDIA
HOW TO LIVE ON TELEGRAM WITH GOLIVEINDIA
HOW TO LIVE ON X WITH GOLIVEINDIA
HOW TO LIVE ON LINKEDIN WITH GOLIVEINDIA
Frequently Asked Questions (FAQ)
1. Do I need to create an account to buy a plan?
Yes, you must register or log in to your GoLiveIndia account to view and purchase plans. Without an account, you won’t be able to activate or manage any plan.
2. What are the available payment methods?
GoLiveIndia accepts a variety of payment options including UPI, Debit/Credit Cards, Net Banking, and Wallets. All transactions are processed securely.
3. Can I use a promo code while purchasing a plan?
Yes, if you have a valid promo code, there will be an option to enter it during checkout. Applying it before payment will reduce the total amount.
4. How long does it take for the plan to activate after payment?
Plan activation is almost instant. Once the payment is successfully completed, your plan will reflect immediately in your dashboard.
5. Can I upgrade or change my plan later?
Yes, you can upgrade your plan at any time. The system will either adjust the billing accordingly or start the new plan based on your usage balance.
6. Is there a free trial available?
Free trials may be offered occasionally as part of promotions. Check the website or app regularly for any current trial offers.
7. What happens if my plan expires?
Once your plan expires, your ability to stream through GoLiveIndia will be paused until you renew or purchase a new plan. No auto-renewal occurs unless explicitly enabled.
8. Will I get a GST invoice or bill for my purchase?
Yes, once your payment is successful, you can request a GST invoice by reaching out to us at support@goliveindia.in
9. Can I use the same plan on multiple devices?
Your GoLiveIndia account can be accessed from different devices, but simultaneous logins or streams may depend on the plan you choose.
10. Who can I contact if I face issues with purchasing or activation?
For support, visit the Help/Support section in the app or website. You can also contact their support team via email or chat for any technical or billing queries.